Introduction: What is the Windows 11 Update Assistant?
The Windows 11 Update Assistant is a powerful tool from Microsoft that helps users upgrade their eligible devices to Windows 11 without waiting for the automatic update rollout. Whether you’re eager to experience the latest features or your system hasn’t prompted you yet, this tool can fast-track your transition to the next generation of Windows.
In this guide, you’ll discover everything you need to know about the Windows 11 Update Assistant—from what it is, how it works, and how to use it safely, to addressing common errors and frequently asked questions.
Why Use the Windows 11 Update Assistant?
If you’re still running Windows 10 and haven’t received the update notification, the Windows 11 Update Assistant offers a reliable alternative. Here’s why many users choose this method:
- Faster Upgrade: Skip the queue and get the update immediately.
- Official Tool: It’s developed by Microsoft, ensuring safety and compatibility.
- Preserves Data: Keeps your files and apps intact during the upgrade.
- Simple Interface: Designed for users with minimal technical knowledge.
System Requirements for Windows 11
Before using the Windows 11 Update Assistant, your device must meet the minimum system requirements. Here are the key specifications:
| Component | Requirement |
|---|---|
| Processor | 1 GHz or faster, 2+ cores on a 64-bit chip |
| RAM | 4 GB or more |
| Storage | 64 GB or more |
| Firmware | UEFI, Secure Boot capable |
| TPM | Version 2.0 |
| Graphics Card | DirectX 12 compatible |
| Display | 720p, 9” or larger diagonal screen |
| Internet Access | Required for updates and downloads |
Make sure your PC meets these criteria. You can use the PC Health Check Tool from Microsoft to verify compatibility.
How to Download the Windows 11 Update Assistant
Follow these steps to safely download the Windows 11 Update Assistant:
- Visit the Official Microsoft Website
Go to the Windows 11 download page. - Find the Update Assistant Section
Look for the “Windows 11 Installation Assistant” option. - Click “Download Now”
This will begin downloading the setup file namedWindows11InstallationAssistant.exe.

Installing and Running the Update Assistant
Once you’ve downloaded the tool, here’s how to use it:
- Double-click the Installer
OpenWindows11InstallationAssistant.exe. - Accept License Terms
You’ll be prompted to agree to Microsoft’s software license. - Compatibility Check
The tool will check your PC’s hardware against the system requirements. - Begin Installation
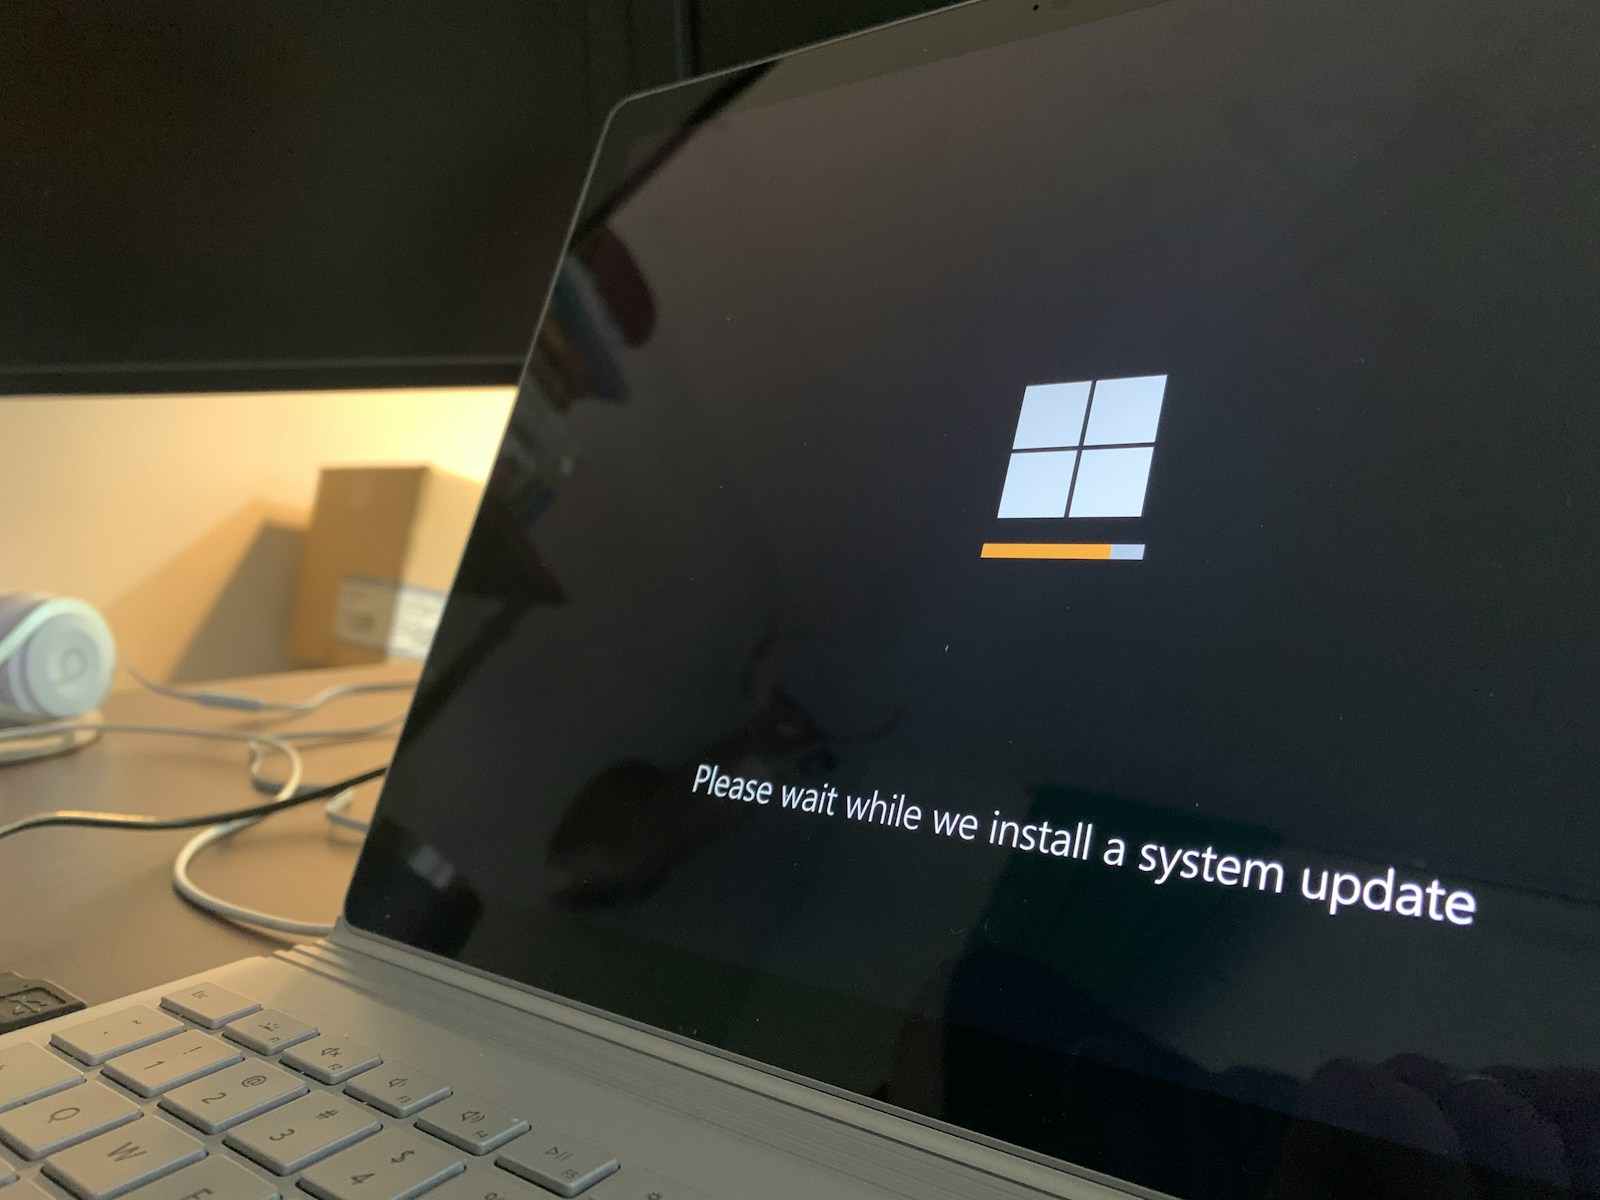
If compatible, the download and installation process will start automatically. - Restart When Prompted
After installation, your PC will restart to complete the upgrade.
The process may take up to an hour depending on your internet speed and device performance.
What to Do Before Running the Windows 11 Update Assistant
Before upgrading, ensure your system is ready:
1. Backup Important Data
While the upgrade typically keeps your files intact, it’s best to backup important data to an external drive or cloud storage.
2. Free Up Storage Space
Ensure at least 20 GB of free space on your system drive to avoid interruptions.
3. Update Drivers
Outdated drivers may cause compatibility issues. Use Windows Update or your device manufacturer’s support page.
4. Disable Antivirus Software Temporarily
Some third-party antivirus tools may interfere with the installation.
Benefits of Using the Windows 11 Update Assistant
Upgrading with the Windows 11 Update Assistant provides multiple advantages:
- No Wait Time: Bypass the staged rollout process.
- Official and Safe: Developed and distributed by Microsoft.
- Automatic Checks: Verifies system requirements and compatibility.
- User-Friendly: No command line or ISO files required.
- No Data Loss: Keeps your files, apps, and settings.
Common Issues and Troubleshooting
1. Update Assistant Stuck at 99%
- Solution: Be patient—it might appear stuck while finalizing updates. Wait at least 1 hour before restarting.
2. Installation Failed with Error Code 0x8007007f
- Solution: Run the Update Assistant as an administrator. Also, check disk space and update your drivers.
3. TPM 2.0 or Secure Boot Errors
- Solution: Go into BIOS settings and enable TPM and Secure Boot. Consult your motherboard or laptop manual.
4. Rollback After Upgrade
- Solution: If the system rolls back to Windows 10, it could be due to incompatible drivers or software. Uninstall third-party antivirus and try again.
Alternative Methods to Upgrade to Windows 11
Although the Windows 11 Update Assistant is the easiest method, there are other ways to upgrade:
A. Using Windows Update
If your device is eligible, you may receive the update through the standard Windows Update section under Settings.
B. Creating Installation Media
Using the Media Creation Tool, you can create a bootable USB drive for clean installs.
C. Using an ISO File
Advanced users can download the official Windows 11 ISO file and mount it directly to begin the upgrade.
Windows 11 Features You Can Expect
Once you upgrade using the Windows 11 Update Assistant, here are some of the standout features:
1. Modern Interface
Rounded corners, centered taskbar, and a refreshed Start menu.
2. Snap Layouts
Easily organize multiple windows and apps for better multitasking.
3. Widgets
Customizable panels for weather, news, tasks, and more.
4. Microsoft Teams Integration
Chat and call directly from the taskbar.
5. Improved Gaming Performance
Auto HDR, DirectStorage, and enhanced graphics support.
6. Enhanced Virtual Desktops
Create separate desktops for work, gaming, and personal use.
How to Check if Windows 11 is Installed Successfully
After using the Windows 11 Update Assistant, follow these steps to confirm the update:
- Click the Start Menu and type “winver”.
- Press Enter.
- A small window will appear showing Windows 11 and the build number.
You can also navigate to Settings > System > About to check your system version.
How to Roll Back to Windows 10 (If Needed)
If you encounter problems after upgrading, you can revert back to Windows 10 within 10 days:
- Go to Settings > System > Recovery.
- Under Recovery options, click Go back.
- Follow the on-screen instructions.
Note: After 10 days, this option disappears unless you create a system backup before upgrading.
Frequently Asked Questions (FAQ)
Is the Windows 11 Update Assistant safe to use?
Yes, it is an official Microsoft tool and completely safe when downloaded from the official website.
Will I lose my data during the upgrade?
No, the Update Assistant keeps your files, apps, and settings intact.
What if my PC doesn’t meet the requirements?
You won’t be able to upgrade via the Update Assistant. Consider upgrading hardware or staying on Windows 10.
Can I cancel the update once started?
You can cancel before installation begins, but once the process starts, it’s best to allow it to complete.
How long does the upgrade take?
It typically takes 30 minutes to 1 hour, depending on your device and internet speed.
Final Thoughts
The Windows 11 Update Assistant is the easiest way to upgrade your compatible PC to Windows 11. It’s official, safe, and designed to make the transition smooth without technical hurdles. Whether you’re upgrading for performance, aesthetics, or productivity, this tool ensures you get the new Windows experience as quickly and securely as possible.
If you haven’t received the automatic update yet, don’t wait—download the Windows 11 Update Assistant and enjoy the future of Windows today.